Recognition

Saturday, April 20, 2024

Gladiola Thank You with Memory Box Dies

1

Hello and welcome, it's Angie here today with another Gladiola card - this time a thank you card I made for a friend.  

Here's a closer look at my card:

Close 2

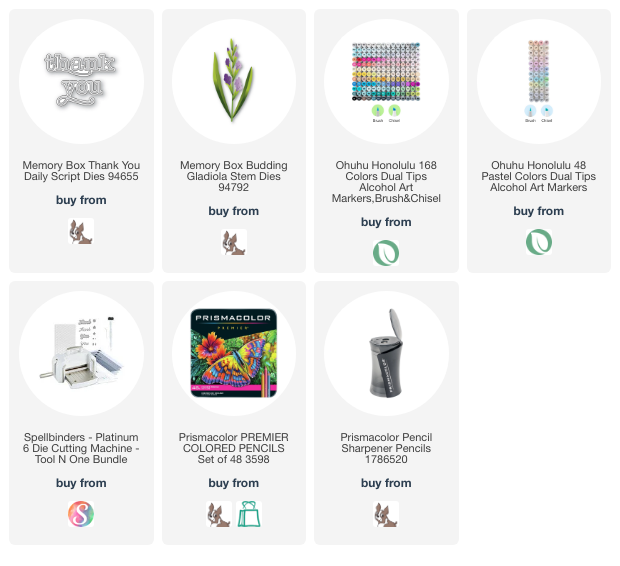
I used the Budding Gladiola Stem 94792 along with the Thank You Daily Script die 94655 to create this clean and simple card.  

Supplies:  https://ldli.co/e/431q1y0

I die cut the buds and leaves from white card stock and then colored them with markers and pencils, then glued them together and cut the sentiment from white and black card stock and glued them together.  I added a thin strip of striped paper from my stash to anchor the design and coordinate with the black and white in the sentiment.  Here's one last look at my clean and simple card for today:

Close 2

I hope you like my card for today, it was super fun to create and very easy too!  Thanks for stopping by and be sure to check out the whole new release from Memory Box!
AngiesignatureNEW


Wednesday, April 10, 2024

Two Projects with Spellbinders "All The Sentiments" Collection by Stampendous


Hello and welcome! I have two cards for you today featuring newly released products from Spellbinders by Stampendous rom the "All the Sentiments Collection."

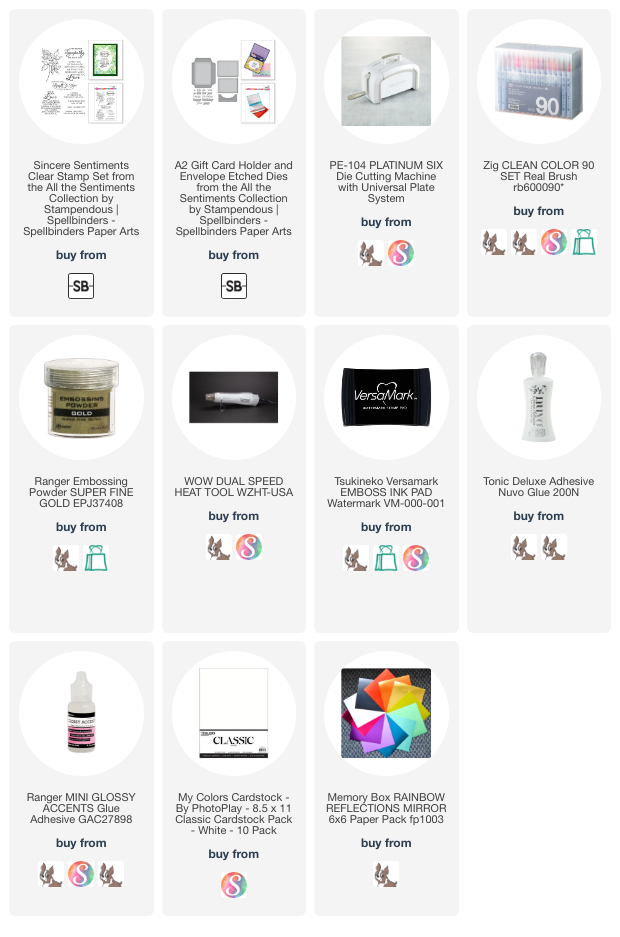
Supplies:  https://ldli.co/e/kqjxnp9

First I made a sympathy card using "Sincere Sentiments Clear Stamp Set." I heat embossed the images (and sentiment) randomly around an A2 panel with gold embossing powder then colored it with Zig Clean Color markers. Here's a close up view:


I trimmed the panel down and then added it to a black panel that was cut slightly smaller than my A2 card base. I adhered both white colored and black combined panels to the card base and that's it - my finished card. Here's one last look:


Next I used the brand new "A2 Gift Card Holder and Envelope" from the same collection. Here's the front of my card with the coordinating envelope:


The "for you" die is also included in the set along with happy, birthday, your, it's, a - several words so you can combine them for different sentiments.  I used patterned paper from my stash along with gold mirror paper from my stash.  Here's a look at the inside:


The die also comes with the envelope die, a separate die to cut the gift card holder and two rounded rectangles for layering and covering the edges of the center gift card holder.  You can see I used the "Happy Birthday" sentiment on the inside.  To help the white letters adhere to the gold mirror paper, I used Glossy Accents - it works much better on mirror paper than regular glue.

Here's one last look:


I hope you like my cards for today, I had a lot of fun creating them.  Feel free to use my affiliate links if you are interested in any of the products I used at no extra cost to you.  It helps compensate me for my designs and work to inspire your creations!  Thanks so much for stopping by!


April 10th glimmering flowers hot foil


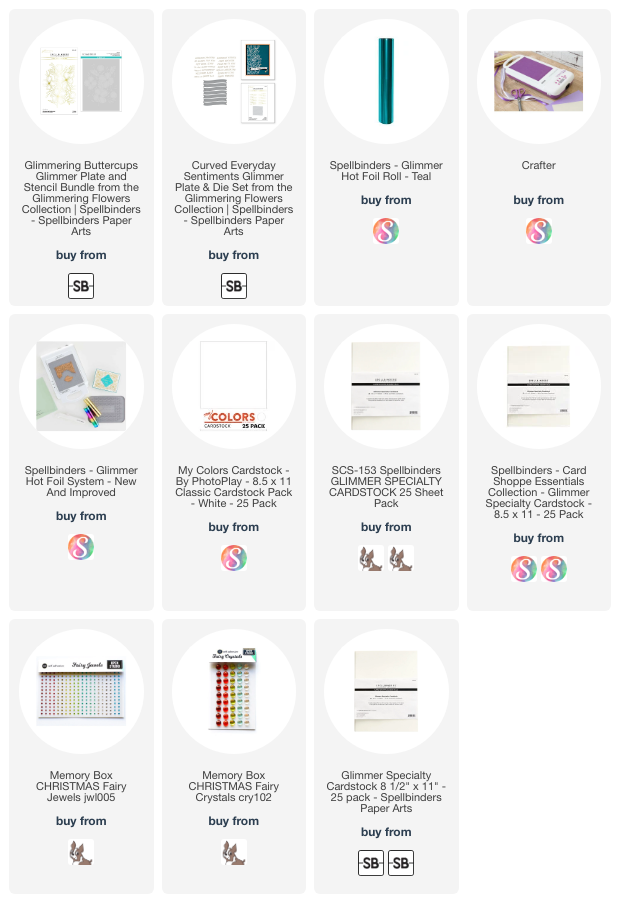
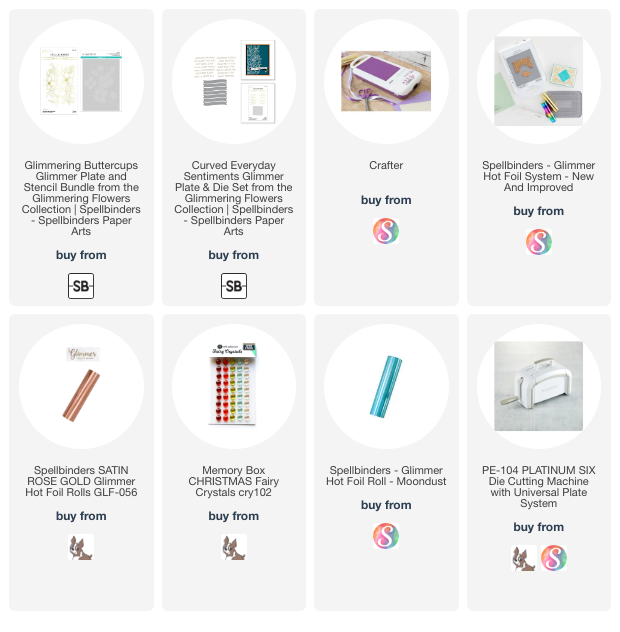
Hello and welcome! I have two cards made with one piece of foil, on the top card I used the new hot foil plate called "Glimmering Buttercups Glimmer Plate and Stencil" rom the Glimmering Flowers Collection.


I am teaching a class locally at Personal Scrapbook in Allen, TX on April 27th from 10:30 a.m. to 12:30 p.m. where we will create cards like this.  If you are local, check out the class sign up HERE.

Both cards have sentiment strips made with the brand new "Curved Everyday Sentiments Glimmer Plate and Die Set" from the same Glimmering Flowers Collection.


Here's the 2nd card made with the left over teal foil. Both floral cards feature gems in the flower centers.


Hope you like my cards for today! I'll have several others to share with you soon so stay tuned!


Gladiola and Leaves Friendship Card

1

Hello and welcome, it's Angie here today with card featuring products from the latest release - 2024 Gladiola!  

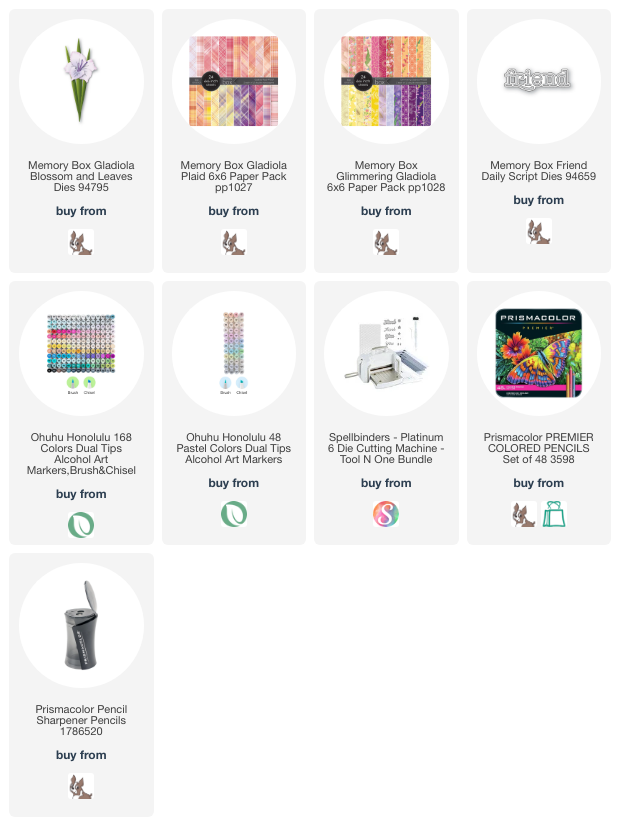
Supplies:  https://ldli.co/e/7699jk7

This release if full of different gladiola dies along with two beautiful paper pads, one of them that I used today is plaid - my favorite!

Here's a closer look at my card:

Close 1

To make my card I first cut all the parts of the Gladiola Blossom and Leaves 94795 die out of white card stock.  The good thing about these dies is even though they have several pieces, everything is contained in one larger die so you don't lose any of the smaller dies!  Once they were cut I colored them with alcohol markers, then added colored pencil for more interest.  I'd seen the most beautiful gladiolas one day that were reddish and maroon on the tips but more yellow toward the center so that's how I colored them.  The other good thing about Memory Box dies is they have a lot of detail so you can lay a colored pencil on it's side and add lots of interesting shading to the leaves and blooms.  Here's a close up of the flower, sentiment and plaid paper:

Close 1

The sentiment was cut from white and also parts were colored with markers.  The sentiment is the Friend Daily Script 94659 from last month's release.  This die is very versatile because it has the shadow or larger die along with a 2nd die that cuts both individual letters and an outside frame of the word - so there are lots of different looks you can get to use on your cards.  And the plaid paper is called Gladiola Plaid, of course, PP1027.  Here's one last look:

Close 1

I hope you like my card for today!  I had lots of fun creating it for you and I hope I've inspired you to create some gorgeous floral cards with Memory Box dies!  Thanks so much for stopping by and don't forget to come back every day for more inspiration from the design team!

AngiesignatureNEW


Supplies

Spellbinders Glimmering Flowers Collection Cards


Okay I promised I'd be back with more Spellbinders Glimmering Flower Collection cards - so here they are!  


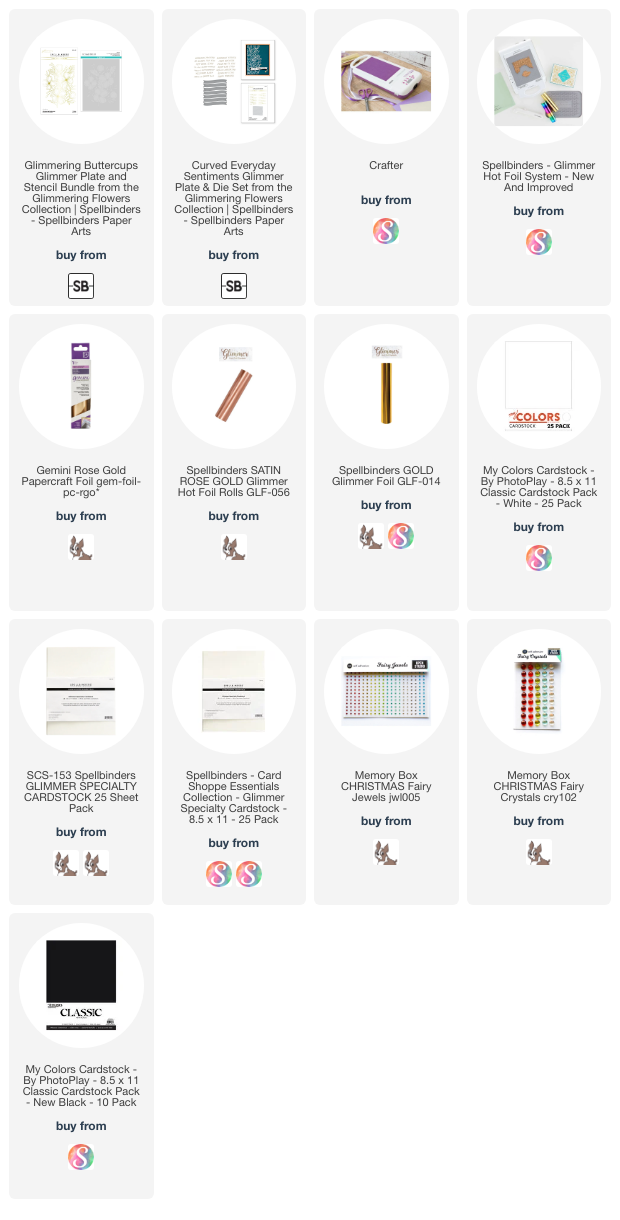
Above and below is the same card, made by hot foiling with the new Buttercups glimmer plate on white card stock, then cutting the image in half.  This card uses the top half and a "Curved Everyday" sentiment hot foiled on black card stock.  I used the coordinating stencils to color the image with ink blender and distress inks.  I used Saltwater Taffy, Spun Sugar, Evergreen Bough, and Chipped Saffire.


The next card was made using the bottom half of the foiled image:


And here's the left over rose gold  foil piece with a sentiment foiled on white card stock:


Here's another left over foiled card, this one is gold foil with sentiment on black card stock:


This next card was foiled with gold with the glimmer plate onto black cardstock, then cut in half.  This is using the bottom half of the image colored with colored pencils and accented with gold paint pen dots.  The sentiment was made on white card stock with left over gold foil piece:


Here is the same card with a different sentiment, gold foiled on white card stock:


And below, the last card is the top half of the black hot foiled piece, also colored with colored pencils and the sentiment is made with left over gold foil on white card stock:


I hope you like my foiled cards today!  I had a lot of fun creating them!  Thanks for stopping by!


Spellbinders Glimmering Buttercups Plate as Embossing Plate


If you need another way to use your hot foil plates, I have a fun card for you today.  


I used the foil plate like an embossing plate and ran it through my Spellbinders Platinum 6 and then used the coordinating stencils to color the image.  You can color either side of the embossed panel - all you have to do is use the right or other side of the stencils by turning them over.  I wanted the puffy look so after inking both sides with ink blender and stencils, I picked the puffier looking of the two.  The inks I used were:  Spun Sugar, Saltwater Taffy, Evergreen Bough, Chipped Sapphire.  

I added a black and white dotted border panel and then added both panels to an A2 card base.  The sentiment was foiled in turquoise foil on white and cut with coordinating die.  I also cut a banner from the black and white dotted paper for a bottom border to the sentiment.  This helped it stand out more.

Lastly I rounded the corners and added crystals to the center of the flowers.  I really love the way this turned out.  In fact, it's one of the cards that we will be making in my next card class at Personal Scrapbook in Allen, TX on April 27th from 10:30 am to 12:30 pm.  If you are local to north Dallas area, you can sign up for the class HERE.

Thanks so much for stopping by!


Saturday, March 30, 2024

Two Plaid Cards with Memory Box Spring Cheer Release

Easter main

Hello and welcome, I have 2 card for you today - one is to wish you a Happy Easter and the 2nd card is a birthday card! 

Supplies:  https://ldli.co/e/5ydpqgp

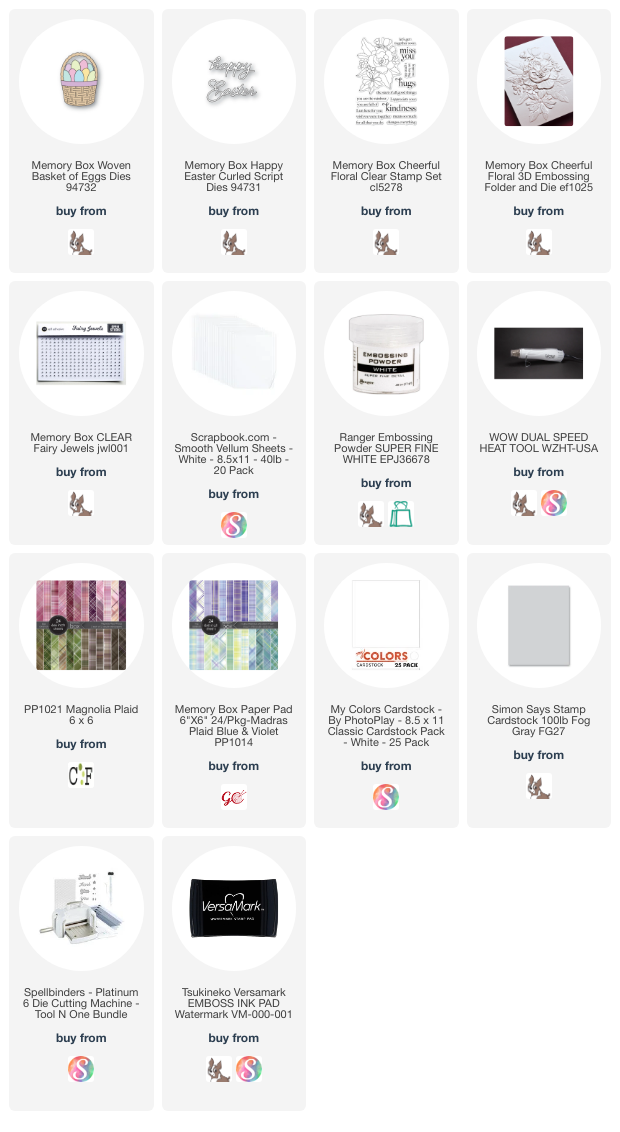
For my Easter Card, I used the new Woven Basket of Eggs 94732, and the Happy Easter Curled Script 94729. I cut them both from white card stock and colored the basket and eggs with alcohol markers. I added them to a piece of plaid purple paper from the Magnolia Plaid PP1021 paper pad that I cut with the Curved Cap Pinpoint Layers die set 94646.

Here's a closer look at my card:

Easter close

You can see that I added Glossy Accents to the eggs after decorating them with black and white pen marks. And here's one last look at my Easter card for today:

Easter 1

Now for my 2nd card which also uses goodies from the last release.

Close

As you can see I kept the plaid theme going and used some paper from the Madras Plaid paper pack (PP1014) for my background.  The floral image was heat embossed with white embossing powder onto vellum and then die cut.  I also cut a 2nd floral image from light gray cardsock and stamped the image with darker gray ink.  I then ran that one through my die cutting machine with the 3D matching embossing folder.  I rubbed a little violet ink on top of it, let it dry and then adhered the vellum flower image on top of the gray one.  To adhere it, I used a glue pen and only added ink in lines where the embossing was so I could hide the adhesive.  Here's a closer look:

Close

I popped the image die cut up on foam tape and then added both the circle foiled sentiment tab and some clear gems to the floral centers.  Here's one last look:

Close

I hope you like my cards for today!  Check out the new release and be sure to come back each day for more inspiration.  Thanks so much for stopping by!  

AngiesignatureNEW